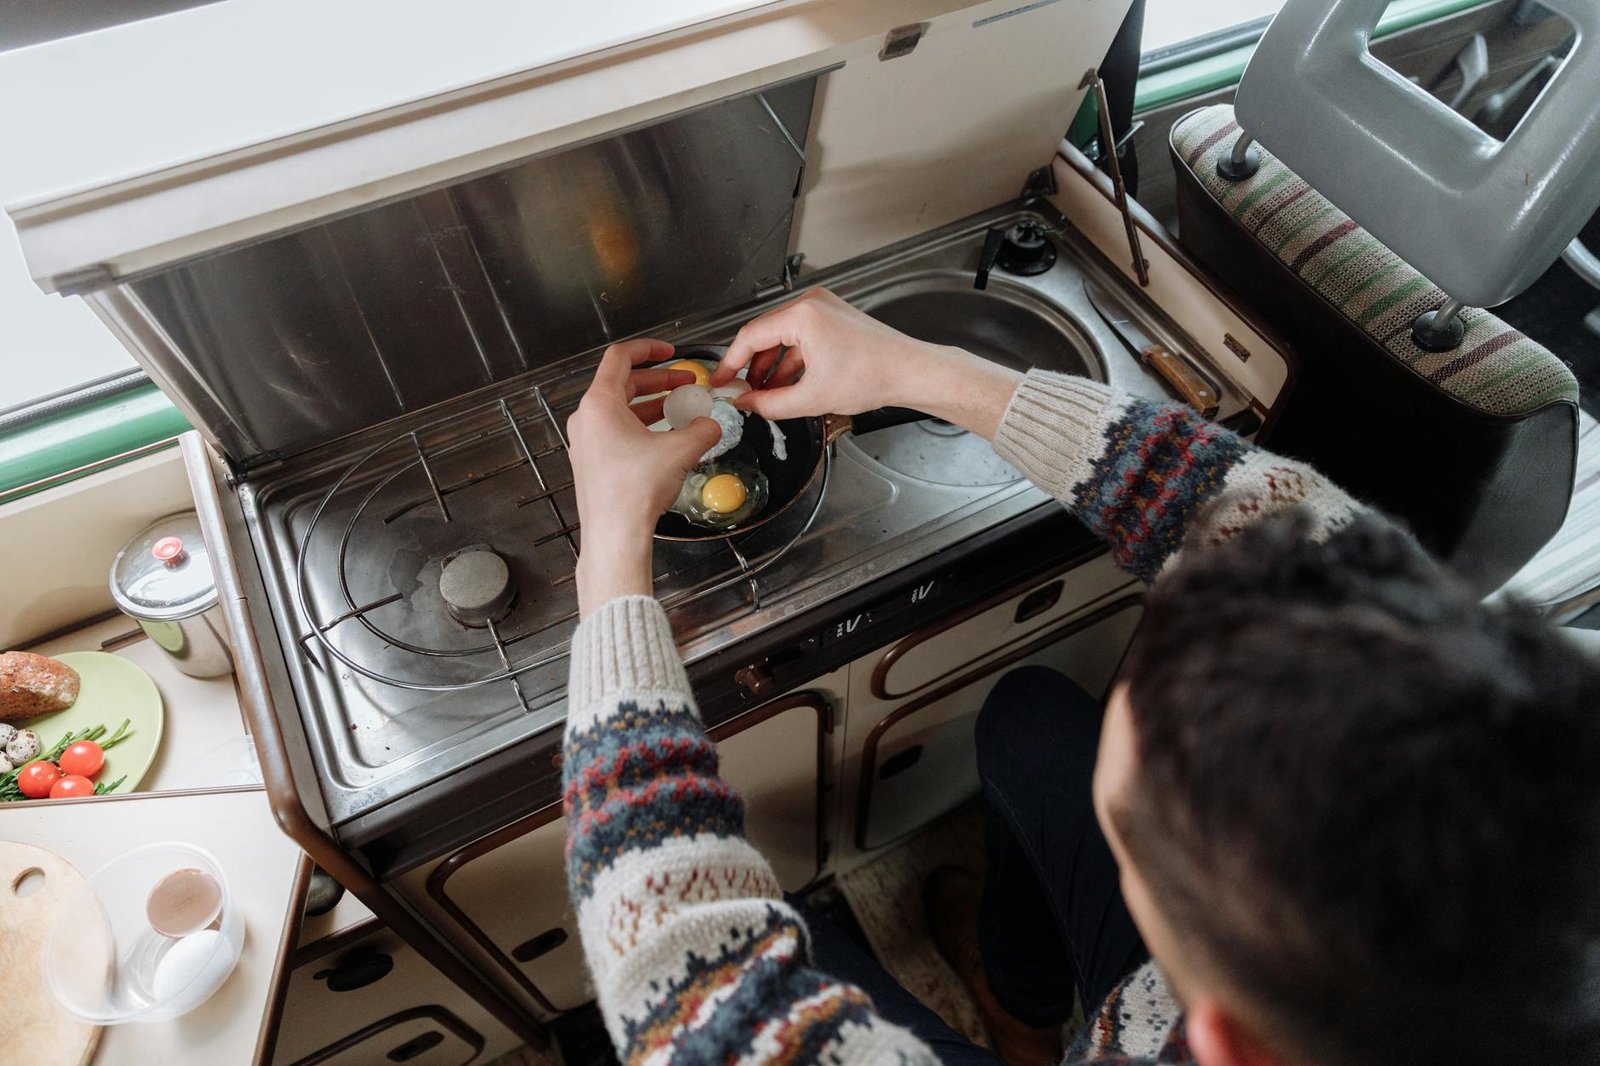
Hey there! If you’re looking to convert your natural gas stove to propane, you’re in the right place.

It might seem like a big task, but I’m here to guide you through it step by step. With a little patience and some basic tools, you’ll have your stove up and running on propane in no time!
How to Convert a Natural Gas Stove to Propane
Here is the step-by-step guide to converting your Natural Gas Stove to Propane:
Gather the Right Tools and Materials

Having the right equipment is crucial. Ensure you have:
- Propane conversion kit (specific to your stove model)
- Wrench set
- Screwdriver
- Pipe thread sealant
- Adjustable pliers
- Safety goggles and gloves
- Propane tank and hose (equipped with a regulator)
Prioritize Safety
Safety is the cornerstone of any DIY project, and converting your stove is no exception. Begin by turning off the stove and disconnecting it from the power source.
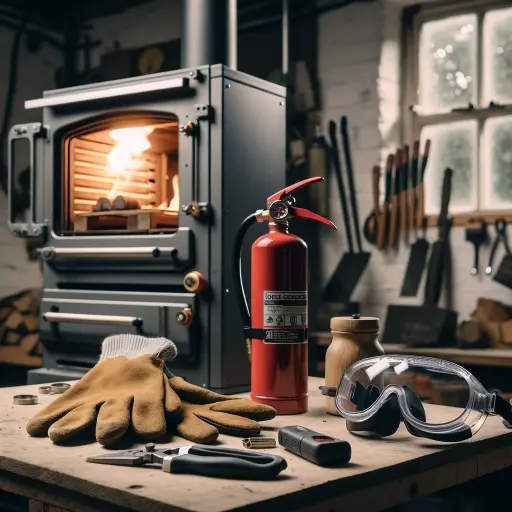
If available, also shut off the gas supply to your home. Equipping yourself with safety goggles and gloves is crucial to protect your eyes and hands from potential hazards.
Identify the Gas Source
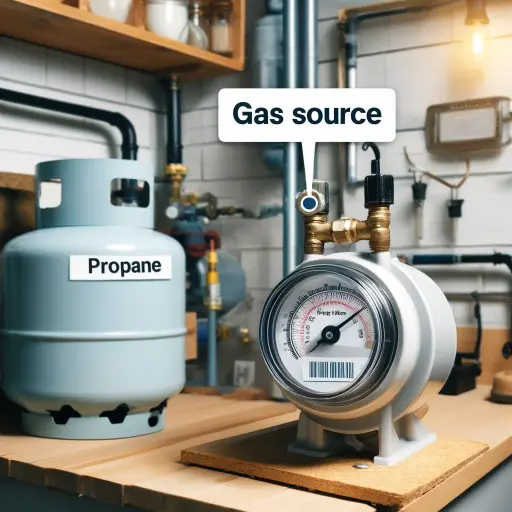
Before you can begin the conversion process, it’s important to locate the gas source on your stove. Typically, this can be found at the back, where the gas line connects.
Gently use a wrench to loosen this connection. Exercise caution during this step, ensuring that the wrench is securely in place to prevent any accidental slips.
Removing the Natural Gas Orifice
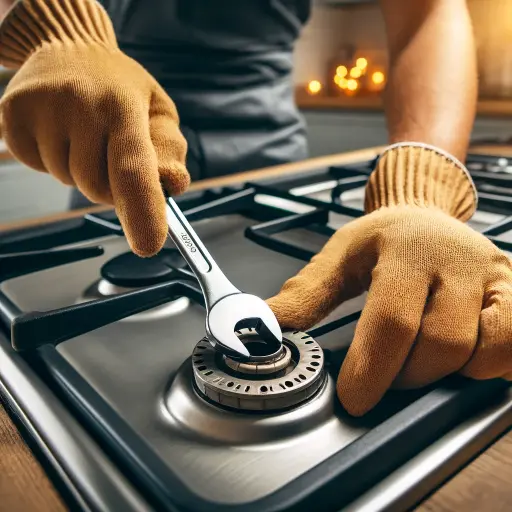
The natural gas orifice is a small but vital component that regulates the flow of gas to the burner. To convert to propane, this piece must be carefully removed.
Using a wrench, apply steady, controlled force to unscrew it from the burner. Take your time and ensure that the orifice comes off smoothly, without any undue force or pressure.
Introducing the Propane Orifice
With the natural gas orifice removed, it’s time to introduce its propane counterpart. Retrieve the propane conversion kit and locate the orifice specifically designed for propane use.
Align it with the same spot where the natural gas orifice was removed, and securely attach it. Use your fingers to initially thread it, ensuring it fits snugly. Then, employ the wrench to give it a final tightening, being careful not to overtighten.
Adjust the Air Shutter
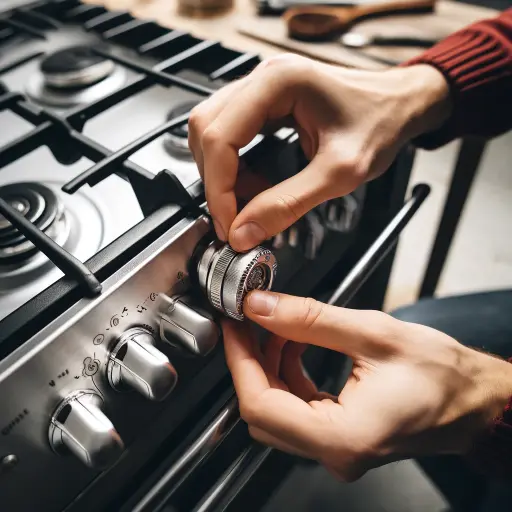
Some stoves are equipped with an air shutter, a crucial component for managing the precise blend of gas and air.
Utilize a screwdriver to make the necessary adjustments as outlined in the conversion kit’s guidelines.
This step is pivotal in achieving the perfect gas-air mixture required for efficient propane operation.
Leak Check
Ensuring a gas-tight seal is paramount for your safety in order to prevent any gas stove explosion. Apply a high-quality pipe thread sealant to the threads of the gas line connection. Reattach it to the stove and utilize a wrench to securely tighten it.
Be careful not to over-tighten, as this can cause damage. To verify the integrity of the connections, prepare a solution of soapy water and thoroughly inspect for any bubbles.
If bubbles emerge, this indicates a potential leak. In such a case, re-tighten the connection and recheck until it’s absolutely secure.
Connect the Propane Hose
Now, it’s time to establish the connection between the stove and the propane source. Attach one end of the propane hose to the regulator, ensuring it’s securely fastened.
Then, connect the other end to the propane tank. Verify that the regulator is compatible with both your stove and the tank to ensure a safe and efficient operation.
Using adjustable pliers, tighten all connections to prevent any potential leaks. This step is crucial for the smooth flow of propane from the tank to your newly converted stove.
Gradually Open the Gas Valve
With all connections in place, it’s time to introduce propane into the system. Gently turn the valve on the propane tank, allowing the gas to flow.
You should hear the telltale hiss of gas. Next, turn on one of the burners or stove eye on your stove. Exercise patience, as it might take a few moments for the gas to travel through the newly converted system and reach the burner.
Test all Burners
Now comes the moment of truth. Light each burner one by one, ensuring they ignite properly. Watch for a steady, blue flame which indicates a clean and efficient burn.
If any burners seem weak or fail to light, revisit the connections and adjustments made earlier. It’s not uncommon for a small tweak to be needed at this stage.
Read Also: Common Gas Stove Issues and How to Solve Them?
Commonly Asked Question
How to Convert a Natural Gas Oven to Propane?
- Begin by ensuring safety by turning off the oven, disconnecting it from power, and shutting off the gas supply if possible.
- Locate the gas source, typically at the back of the oven. Use a wrench to gently loosen this connection. Remove the natural gas orifice and replace it with the propane orifice from a conversion kit.
- Adjust the air shutter as per the kit’s instructions. Apply a pipe thread sealant, reattach the gas line, and perform a leak check. Connect the propane hose and gradually open the gas valve on the tank.
- Apply a pipe thread sealant, reattach the gas line, and perform a leak check. Connect the propane hose and gradually open the gas valve on the tank.
How to Convert a Whirlpool Natural Gas Stove to Propane?
- Converting a Whirlpool natural gas stove to propane follows similar steps as outlined above. Prioritize safety, and locate the gas source.
- Remove the natural gas orifice, replace it with a propane orifice from a compatible conversion kit, adjust the air shutter, and apply pipe thread sealant.
- Reattach the gas line, perform a leak check, and connect the propane hose.
How to Convert a Frigidaire Natural Gas Stove to Propane?
- The process for converting a Frigidaire natural gas stove to propane mirrors the steps outlined above for a general gas stove conversion.
- Follow the safety measures, locate the gas source, switch out the orifice, adjust the air shutter, apply pipe thread sealant, reattach the gas line, perform a leak check, and connect the propane hose.
- Connect the propane hose and gradually open the gas valve on the tank.
Conclusion
You’ve successfully converted your natural gas stove to propane! This process, though detailed, is a rewarding DIY project. Your commitment to safety and attention to detail has paid off.
Should you ever feel unsure about a step, seeking professional advice is always a wise move. Remember, your well-being comes first. Now, enjoy cooking on your newly converted stove! Happy cooking!


